現在、iPadをノートのようにして使っています。
その時問題になるのが、ペンが使えないこと。なかなかに人差し指で書く・描く作業をするのは大変です。
テキストはキーボードで打てばいいものの、スケッチはやはりペンが欲しい所です。
そこで!川崎先生から直々に自作スタイラスの作り方を教えてもらいiPad用のペンを自作することにしました。
■準備物
準備するのはたった三つ。
・先端がゴムになっているペン
・アルミホイル
・のり
これだけです。
要するに、ペンに導体であるアルミホイルを貼りつけ、そのアルミホイルの部分を持ちながら描くということです。
しかしながら、接触判定には5mm角の接触面積が必要らしく、先端には接触時にある程度変形してくれるゴムがあった方がいいと言うことです。
アルミホイルは適当に家にあるもので大丈夫。
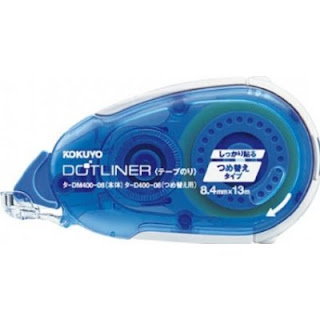
のりは、コクヨのドットライナー。
かなり使いやすくて、普段から使っています。
先端がゴムになっているペンは、
タカラトミーのペン回し用ペンを使用。

そしてもう一本。パイロットフリクションボールでもトライ。
■加工
これらのペンのゴム部分を、自分がペンを持つ時の角度にカットします。
僕はだいたい45°にゴムをカットしました。
これに適度に切りとったアルミホイルにのりをつけてキレイに貼って行きます。
そして、完成品がこれ!
Then, I made it by the method my professor advise to do.
I needed to prepare three things.
・Pen with a rubber head
・Aluminum foil
・Glue
That’s all.
In short words, I want to wrap the pen with the aluminum foil and write down on iPad with touching it. At that time, iPad need 5 square millimeter touch area for contact judgement. Therefore, rubber head is good for it.
I used KOKUYO’s glue dot liner and pens for penspinning.
At first, I cut the rubber head at an angle of 45 degrees, because I always have pen at the angle.
Next, I wrapped the pen by adequate quantity aluminum foil with glue. That’s all.
Its reaction is not good sometimes but I satisfy its quality so I will replace note with iPad.


